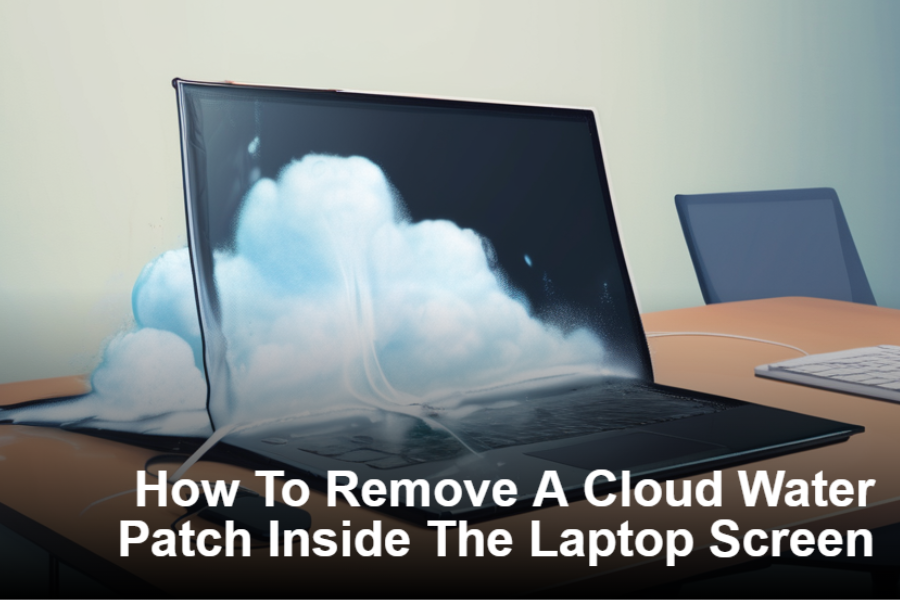
How to Remove a Cloud Water Patch Inside the Laptop Screen?
Laptop computers have become an essential part of our daily life. However, accidents appear. Spilling water to your computer can bring about various troubles, and one common problem is the arrival of a cloud-like patch on the display screen. Effective methods suggested by Your Phone Guy LLC experts to remove this cloud water patch and restore your laptop screen to its pristine condition are essential.
How to Remove a Cloud Water Patch Inside the Laptop Screen?
Removing a cloud water patch from a laptop screen requires swift action, precision, and patience. Following those complete steps can substantially increase the probability of restoring your PC to its finest kingdom. Adopting preventive measures can protect your tool from capability water-related mishaps inside the destiny. Water spills on laptops can result in cloud-like patches on the screen caused by liquid intrusion into the display layers. Swift action is essential to prevent and fix water damage and restore the laptop screen to its optimal condition.
Power Off and Unplug
When a water spill occurs, the primary essential step is to power off the laptop without delay and disconnect it from any energy supply. This prevents potential electrical damage and safeguards the internal components. This is an essential step in the laptop screen water damage repair process.
Remove Devices and Accessories
Disconnect all external gadgets and add-ons to the laptop to ensure a radical drying method. This includes USB drives, outside difficult disks, and some other peripherals. Removing the battery further prevents electrical complications.
Draining Residual Liquid: Carefully Flip and Wait
After detaching external components, gently flip the laptop upside down to encourage the drainage of any residual liquid. Allow gravity to remove excess water for at least 15-20 minutes and clear water spots from the laptop display.
Opening the Laptop Casing
If you are comfortable with the technical components, consider establishing the computer casing to get the right of entry to the inner additives. This step allows for a thorough drying procedure and reduces the hazard of lengthy-term damage.
Addressing Affected Areas
Carefully pat the affected screen areas using a soft, lint-free cloth to absorb excess moisture. Avoid rubbing or applying excessive pressure, which could further spread the water and damage the screen. You can contact Your Phone Guy LLC professionals to address the affected area.
Inspect and Remove Mineral Deposits
Inspect the display screen for any mineral deposits or residue left behind by using the water. If a gift, use a screen-cleansing answer, which includes equal parts distilled water and white vinegar. Apply the answer to a microfiber cloth and lightly wipe the screen in a round movement.
Final Step Before Reassembly
Allow the laptop to air-dry thoroughly before reassembly. This may additionally take at least 24 hours. Ensure that each component is dehydrated before taking the subsequent step to avoid the risk of electrical harm. This will help with water stain removal from the internal laptop display.
Power on with Confidence
Once confident that the laptop is completely dry, reassemble the components carefully. Reconnect the computer to power, insert the battery, and power it on. Verify that the cloud water patch has been successfully removed and that the screen usually functions.
Prevention Strategies
To prevent future water spills, consider implementing prevention strategies. These include the usage of spill-resistant laptop instances, maintaining beverages away from the PC workspace, and using a keyboard cover to defend against accidental spills. Regularly backing up vital statistics ensures minimal loss in case of unexpected accidents. Additionally, it's advisable to avail of repair services to promptly address any damage caused by spills and ensure the longevity of your devices.
How do I remove the cloud patch from my monitor?
Here are the easy steps of how to remove a cloud water patch inside the laptop screen, turn it off and lightly pat the display with a gentle, lint-free fabric to soak up excess moisture. Place the reveal in a bag with rice or silica gel for 24 hours. If the issue persists, consult professional assistance for a thorough evaluation.
Are there any lengthy-term consequences for the laptop after a water spill?
Water spills on a computer can result in lasting consequences, corrosion, or damage to internal components. Even after efficaciously addressing immediate problems, it's crucial to screen the laptop for malfunction symptoms. Regular backups and expert evaluation are handy to mitigate ability long-term damage.
Can I use a hairdryer to speed up the drying manner?
Using a hairdryer to expedite drying after a water spill on a laptop isn't endorsed. The warmness of the hairdryer can damage inner additives. It is safer to allow the laptop to air-dry naturally to prevent any harm to its functionality.